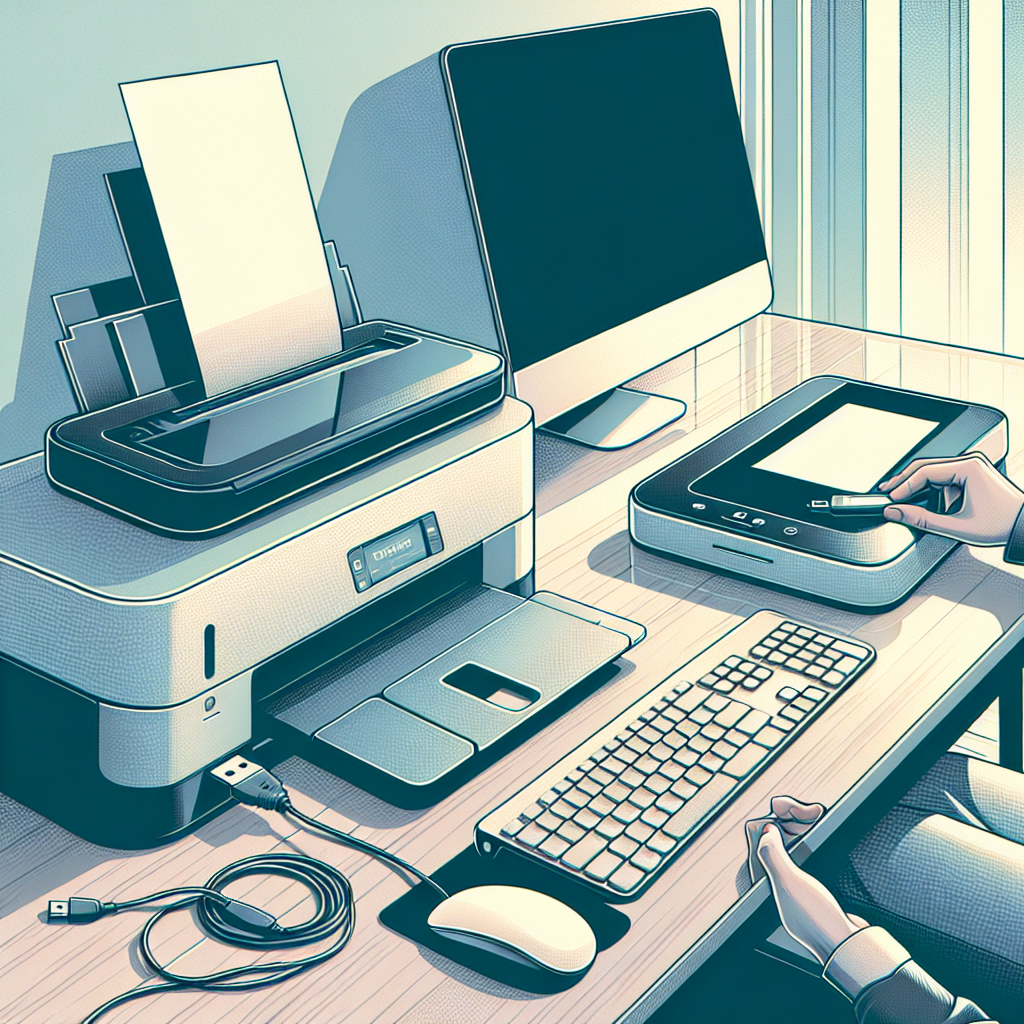
Peripheral devices such as printers and scanners are essential for various everyday tasks, from printing documents to digitizing important files. Setting up these devices can sometimes be a daunting task, especially for those who are not tech-savvy. This guide will walk you through the process of connecting and using printers and scanners, ensuring a seamless experience.
Types of Connections
Peripheral devices can be connected to a computer using various methods. Below is a table summarizing the common types of connections:
| Type of Connection | Description |
|---|---|
| USB | Most common and straightforward method using a USB cable |
| Wi-Fi | Wireless connection using a Wi-Fi network |
| Bluetooth | Wireless connection using Bluetooth technology |
| Ethernet | Wired connection through an Ethernet cable, often used in office environments |
Connecting a Printer
Connecting a printer to your computer can be simple if the correct steps are followed. Below are the steps for different connection types:
Connecting via USB
- Unbox the printer and place it on a stable surface.
- Connect the printer to a power source and turn it on.
- Attach the USB cable to the printer and the computer.
- Your computer should recognize the printer and install the necessary drivers automatically. If not, you can download the drivers from the manufacturer’s website.
- Follow any on-screen instructions to complete the setup process.
Connecting via Wi-Fi
- Place the printer within range of your Wi-Fi network.
- Turn on the printer and connect it to the Wi-Fi network using the printer’s control panel. Refer to the user manual for specific steps.
- On your computer, go to ‘Settings’ > ‘Devices’ > ‘Printers & scanners’.
- Click ‘Add a printer or scanner’ and select your printer from the list.
- Follow any additional prompts to complete the setup.
Connecting via Bluetooth
- Ensure Bluetooth is enabled on both the printer and your computer.
- On your computer, go to ‘Settings’ > ‘Devices’ > ‘Bluetooth & other devices’.
- Click ‘Add Bluetooth or other device’ and select ‘Bluetooth’.
- Select your printer from the list of available devices and follow the prompts.
Connecting a Scanner
Most modern scanners can be connected using the same methods as printers. Here are the detailed steps for each type:
Connecting via USB
- Unbox the scanner and place it on a stable surface.
- Connect the scanner to a power source and turn it on.
- Attach the USB cable to the scanner and the computer.
- Your computer should recognize the scanner and install the necessary drivers automatically. If not, you can download the drivers from the manufacturer’s website.
Connecting via Wi-Fi
- Place the scanner within range of your Wi-Fi network.
- Turn on the scanner and connect it to the Wi-Fi network using the scanner’s control panel. Refer to the user manual for specific steps.
- On your computer, go to ‘Settings’ > ‘Devices’ > ‘Printers & scanners’.
- Click ‘Add a scanner’ and select your scanner from the list.
- Follow any additional prompts to complete the setup.
Connecting via Bluetooth
- Ensure Bluetooth is enabled on both the scanner and your computer.
- On your computer, go to ‘Settings’ > ‘Devices’ > ‘Bluetooth & other devices’.
- Click ‘Add Bluetooth or other device’ and select ‘Bluetooth’.
- Select your scanner from the list of available devices and follow the prompts.
Using Your Printer
Once your printer is connected, using it is quite straightforward:
- Select the file you want to print and open it.
- Press ‘Ctrl + P’ to open the print dialog box.
- Select your printer from the list of available devices.
- Adjust the print settings as needed and click ‘Print’.
You can also set your printer as the default printer to simplify the process further:
- Go to ‘Settings’ > ‘Devices’ > ‘Printers & scanners’.
- Click on your printer and select ‘Set as default’.
Using Your Scanner
Using a scanner involves a few more steps but remains simple:
- Place the document or photo you want to scan on the scanner’s flatbed.
- Use the scanner software or a built-in Windows application like ‘Windows Fax and Scan’.
- Select the type of scan (e.g., photo, document) and adjust settings as needed.
- Click ‘Scan’ to begin the scanning process and save the file to your desired location.
Advanced scanning software may offer additional features, such as OCR (Optical Character Recognition) to convert scanned text into editable text.
Troubleshooting Common Issues
Even with the best setup practices, issues can arise. Here are some common problems and their solutions:
Printer Not Recognized
This can happen due to driver issues or connection problems.
- Ensure the printer is properly connected to the computer or network.
- Update the printer drivers from the manufacturer’s website.
- Restart both the printer and the computer.
Scanner Not Working
This issue might be due to outdated drivers or connection issues:
- Verify that the scanner is properly connected to the computer or network.
- Update the scanner drivers from the manufacturer’s website.
- Restart both the scanner and the computer.
Optimizing Performance
Lastly, here are some tips to ensure your peripheral devices perform optimally:
- Regularly update the drivers and firmware.
- Keep the devices clean and free of dust.
- Use high-quality paper and ink for printers.
- Calibrate scanners regularly to ensure accuracy.
By following these guidelines, you can ensure that your printers and scanners remain in good working condition for a long time.