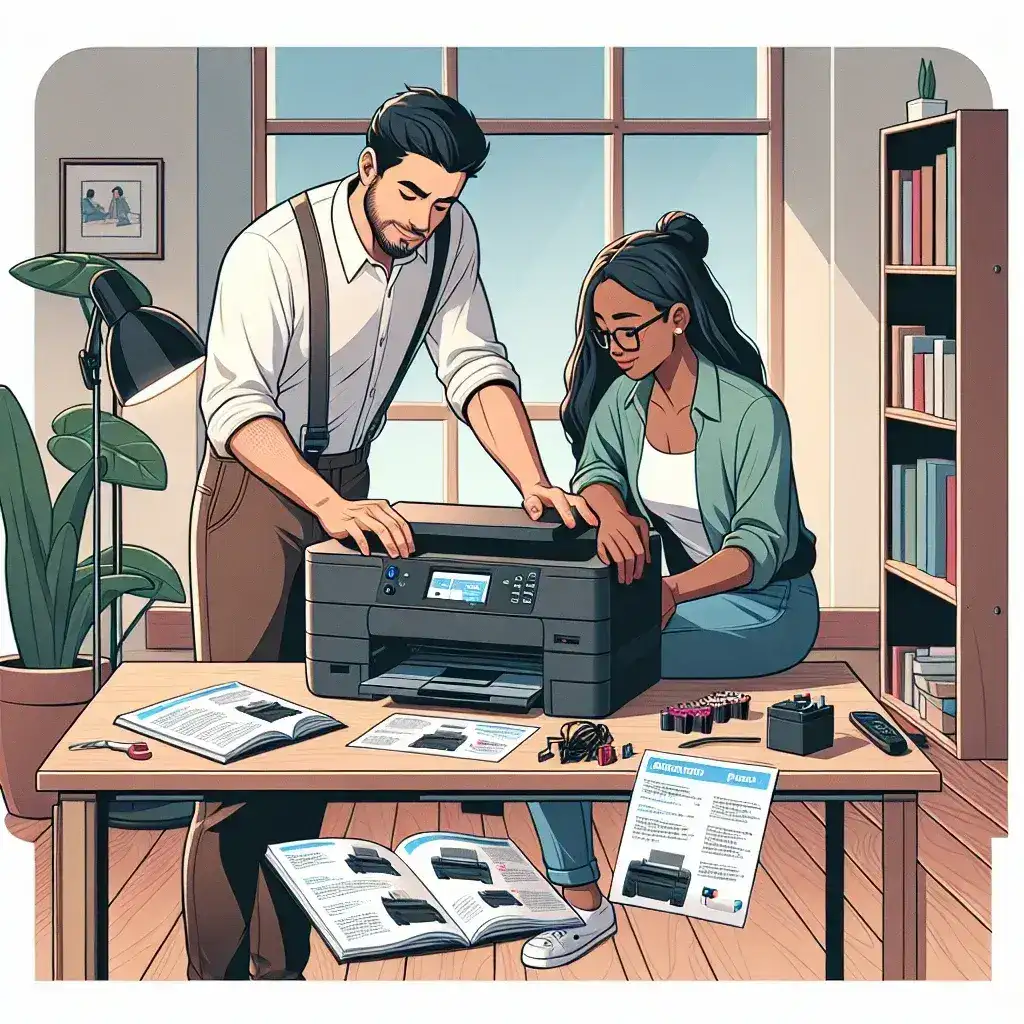
Installing a printer can seem daunting, but it is a straightforward process once you understand the steps involved. Whether you’re setting up a wired or wireless printer, this guide will provide you with the information you need to get your printer up and running.
Types of Printers
Before diving into installation, it’s important to understand the different types of printers available:
| Type of Printer | Description |
|---|---|
| Inkjet Printer | Uses liquid ink sprayed through microscopic nozzles onto the paper. Ideal for photo printing. |
| Laser Printer | Uses a laser beam to produce an image on a drum, which is then transferred to paper with toner. Ideal for high-volume printing. |
| All-in-One Printer | Combines printing, scanning, copying, and sometimes faxing capabilities in a single device. |
| Wireless Printer | Connects to your computer via Wi-Fi, allowing for remote printing. |
| Wired Printer | Connects directly to your computer via a USB or Ethernet cable. |
Required Components
Ensure you have the following components before beginning the installation:
- The printer itself
- Power cord
- USB or Ethernet cable (for wired installations)
- Driver software (usually available on the manufacturer’s website)
- Wi-Fi network (for wireless installations)
Installing a Wired Printer
Step 1: Unbox and Connect
Unbox your printer and connect the power cord to an electrical outlet. Use the USB or Ethernet cable to connect the printer to your computer.
Step 2: Install Printer Drivers
Most modern computers will automatically recognize the new hardware and prompt you to install the necessary drivers. If not, visit the printer manufacturer’s website to download and install the drivers manually.
Step 3: Configure Printer Settings
Once the drivers are installed, navigate to your computer’s printer settings to add the new printer. Follow the on-screen instructions to complete the setup.
Installing a Wireless Printer
Step 1: Unbox and Power On
Unbox your printer and connect the power cord to an electrical outlet. Turn on the printer and enable its Wi-Fi feature.
Step 2: Connect to Wi-Fi
Use the printer’s control panel to connect to your Wi-Fi network. You may need to enter your network’s SSID and password.
Step 3: Install Printer Drivers
Just like with a wired printer, you’ll need to install the necessary drivers. Again, these can typically be found on the manufacturer’s website.
Step 4: Add Printer to Your Computer
Navigate to your computer’s printer settings and select the option to add a new printer. Your computer should automatically detect the wireless printer. Follow the on-screen prompts to complete the setup.
Troubleshooting Common Issues
Issue: Printer Not Detected
Make sure all cables are securely connected and that your printer is turned on. For wireless printers, ensure that both your printer and computer are connected to the same Wi-Fi network.
Issue: Printer Offline
Check your printer and computer for any connectivity issues. Restart both devices if necessary. You may also need to update your printer drivers.
Issue: Poor Print Quality
Ensure that you are using the correct type of paper and that your ink or toner levels are adequate. Perform a printhead cleaning if necessary.
Maintaining Your Printer
Regular maintenance is key to keeping your printer in good working condition. Replace ink or toner cartridges as needed, and perform periodic cleaning of the printheads and rollers.
By following these steps, you can ensure a smooth and successful printer installation process. Whether you’re using a wired or wireless printer, these guidelines will help you get the most out of your device.


